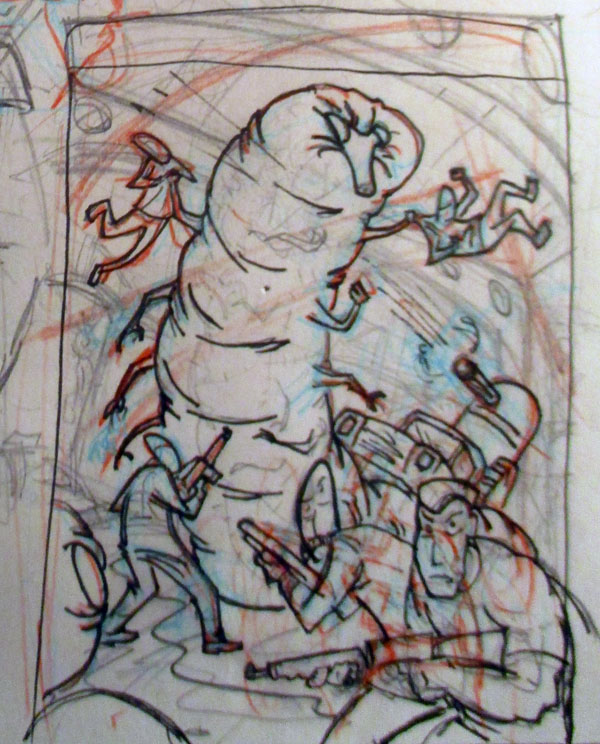
That'll work. The composition is interesting, even though
it's a fairly standard horror/monster type cover from the golden
age of comics (which is what was called for).
From there, you gotta refine things...draw the figures a bit
more properly, figure out where the vanishing points would be so
the background structure actually looks right.
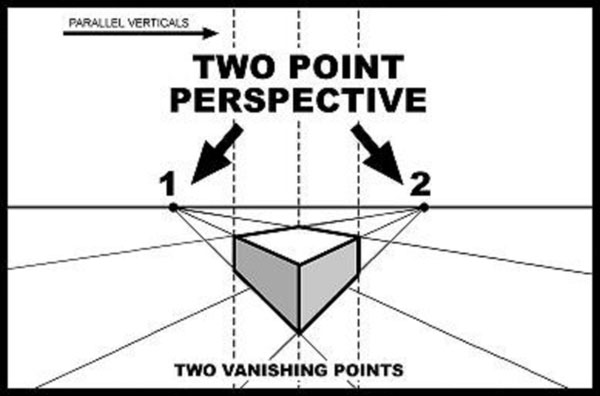
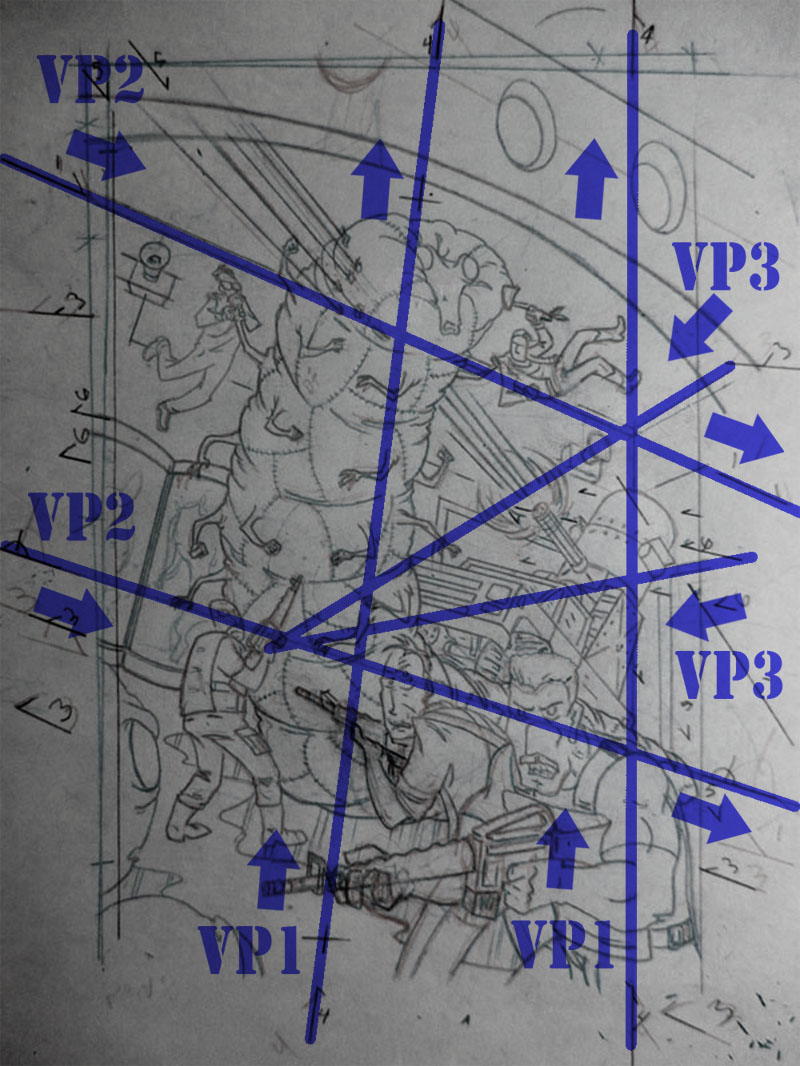
we got a vanishing point for each of the sides, and one
WAYYYYY up above so that you feel a bit like you are looking up
at the scene ( "worm's eye view" is the term I was taught, but
there's probably a more legit term for it). So that takes care
of most of the inanimate objects. HOWEVER...there's a truck in
the scene.
Vehicles, unless they are somehow traveling
completely parallel with one of the sides, need their own set of
vanishing points, and in this case the truck is driving up/over
something so it for sure needs it's own set...
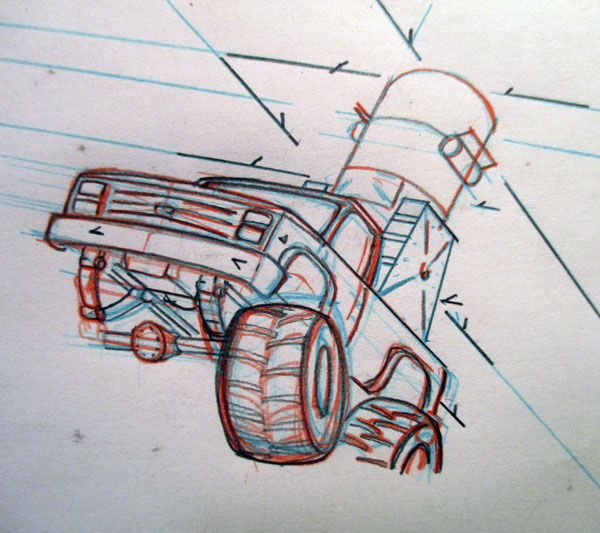
That'll work...on that take I had toyed with having the
suspension tilting (see front axel) but decided against that
because...meh ( LOL) Sometimes "meh" is the proper decision. You
can be "too smart by half" and make the whole thing a visual
mess. Often times "correctly drawn" can make things worse, or
visually confusing. Sometime "incorrect" is actually better
visually. That's where the phrase " using artistic license"
comes from.
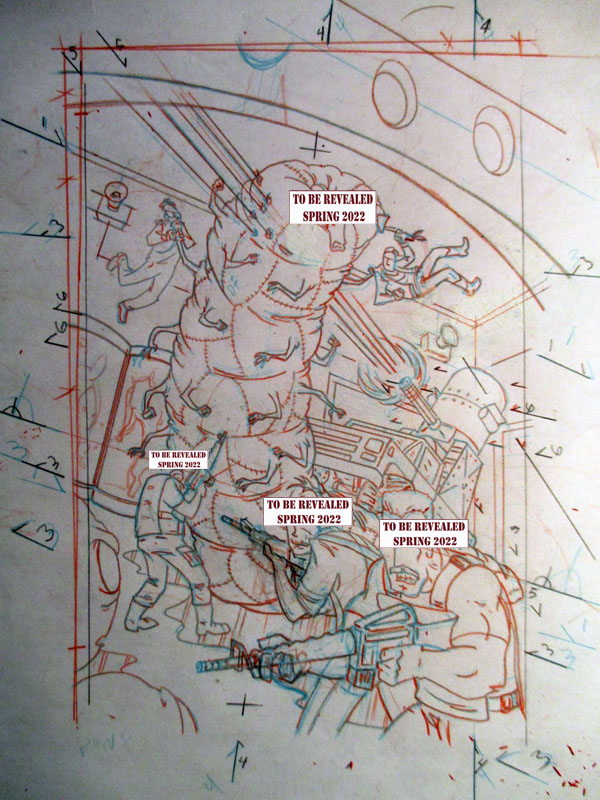
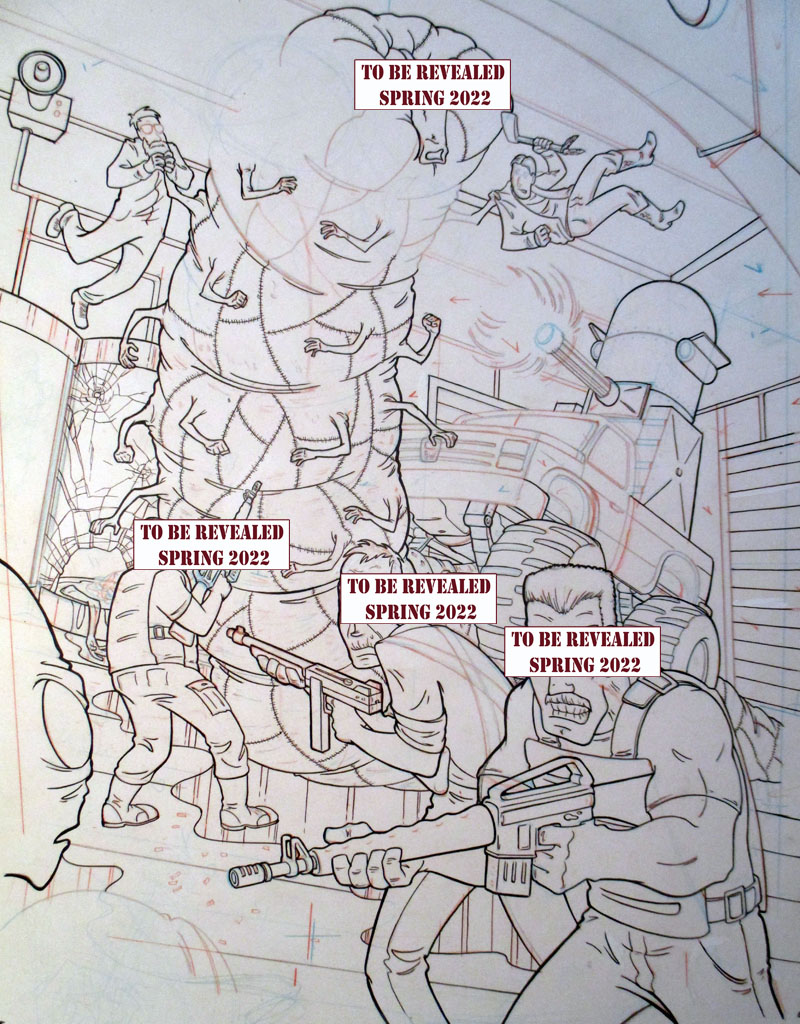
ANYWAYS...now we get the bugger penciled out at full size (
11x17 inches)
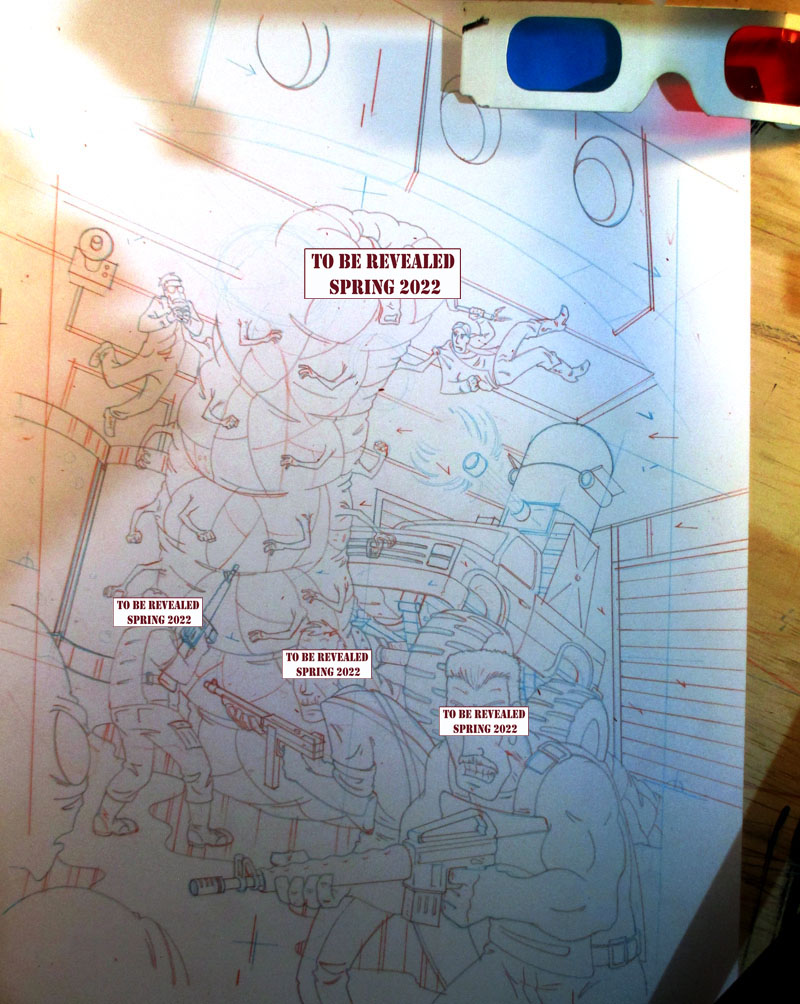
Keep those 3d glasses in mind...I'll explain why I had those
laying around in a moment.
Those top curves lines. Those are about...6 inches across.
That is a TOUGH line to pencil without some sort of tool. There
are of course stencils but stencils are normally symmetrical,
which does no good for lines like those which are curved in
perspective (more egg shaped ).
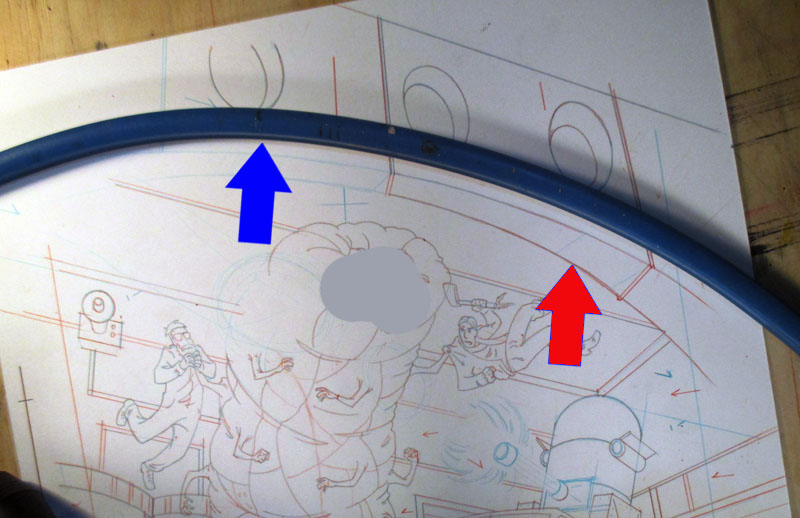
Luckily someone invented this tool, a flexible straight edge.
You bend it to the shape you need and can make a nice stable,
dark line to ink.
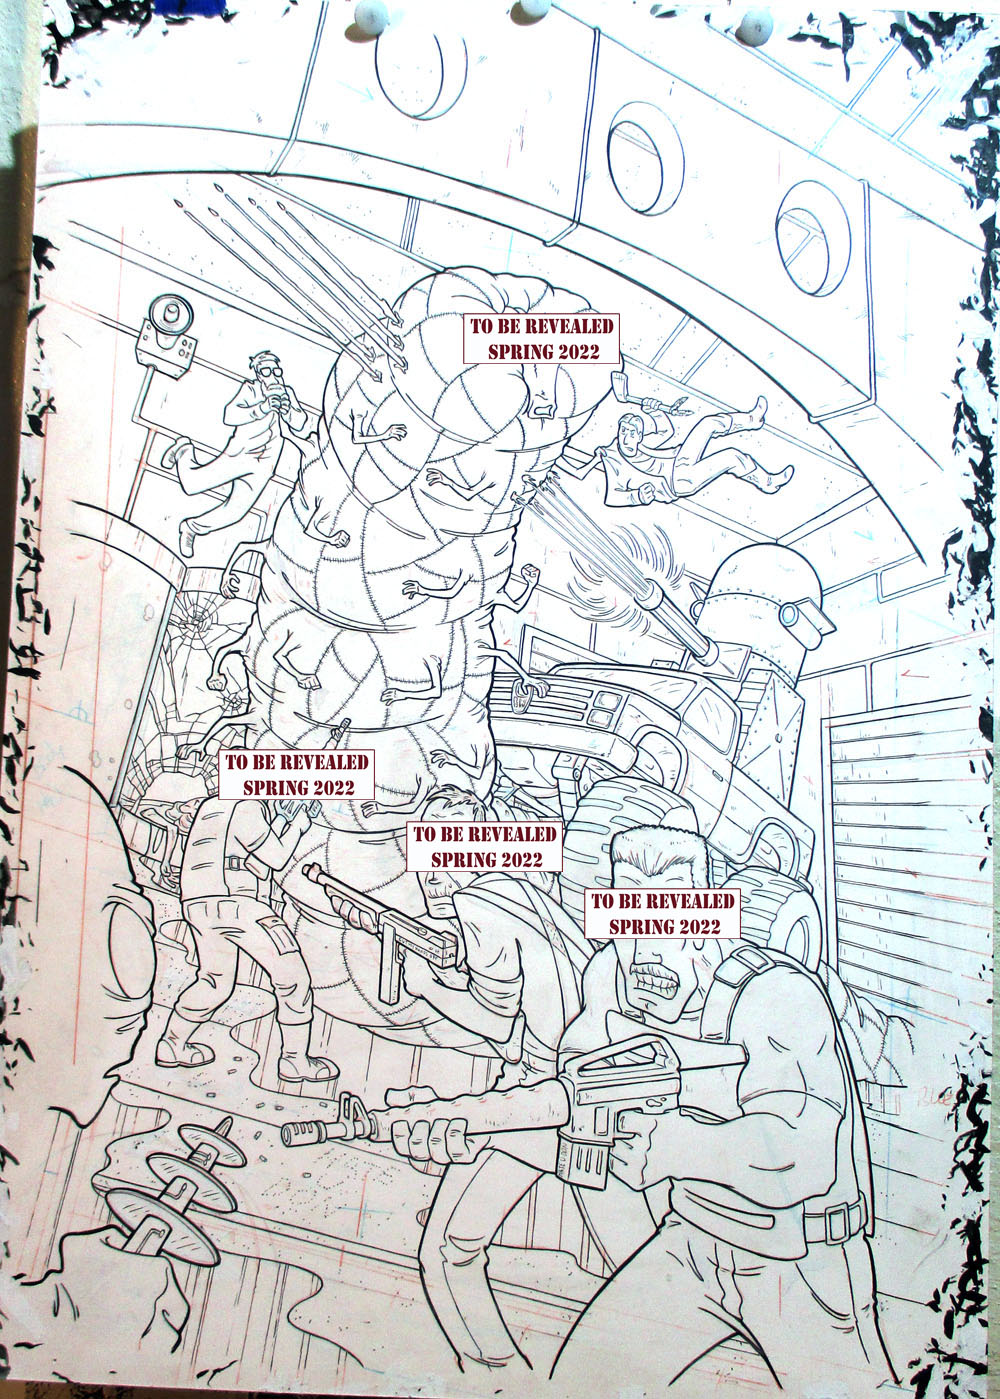
Back to the glasses for a second, and the concept of
"correct" not always being good. We could have the piping coming
off that overhead curved pillar go to the actual vanishing
point, or just BS it. Doing it correctly might force the eye
into the center of the page too much. So, I drew both options,
one in blue and one in red...then I put the 3d glasses on and
cover one eye at a time to see which looks better ( when I look
through only the blue, I only see the red lines, and visa versa)

That...is not something I recommend doing, it is arcane and
probably an affectation.
Anyways...onto inking
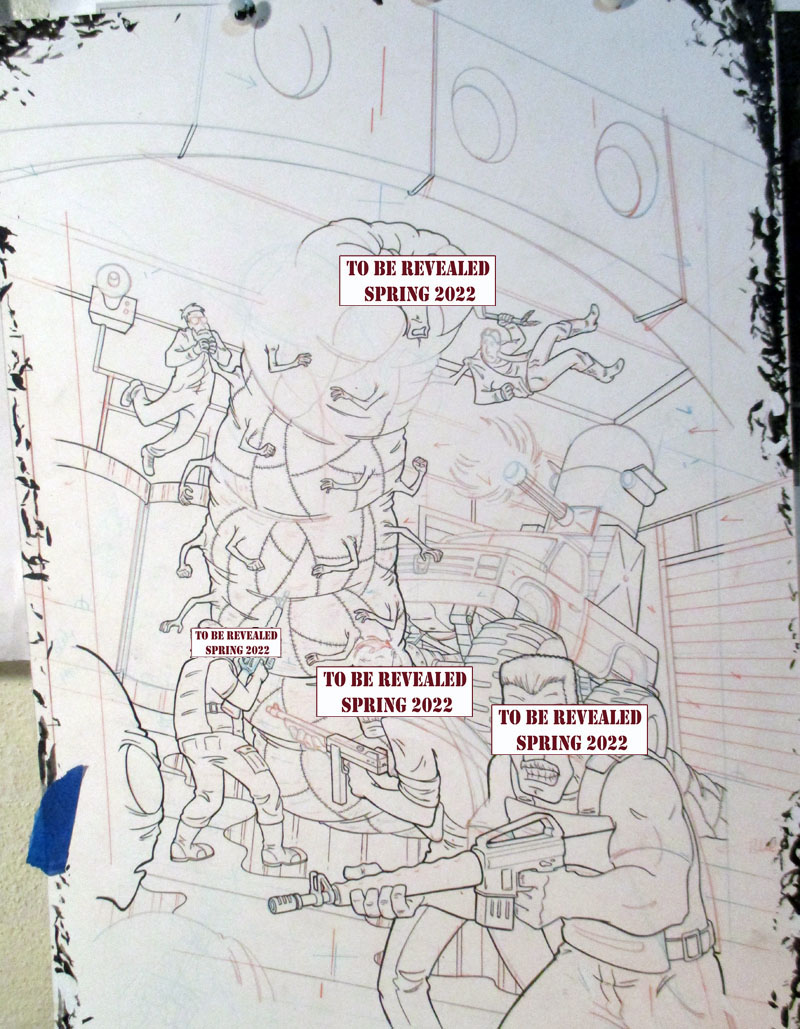
Oh yeah...at this point I sent a progress pic to the man in
charge and he decided he wanted one of the tubes in the
background cracked open with parts hanging out. ...smh...okay
(adding that to the bill)...gotta back up and pencil that.
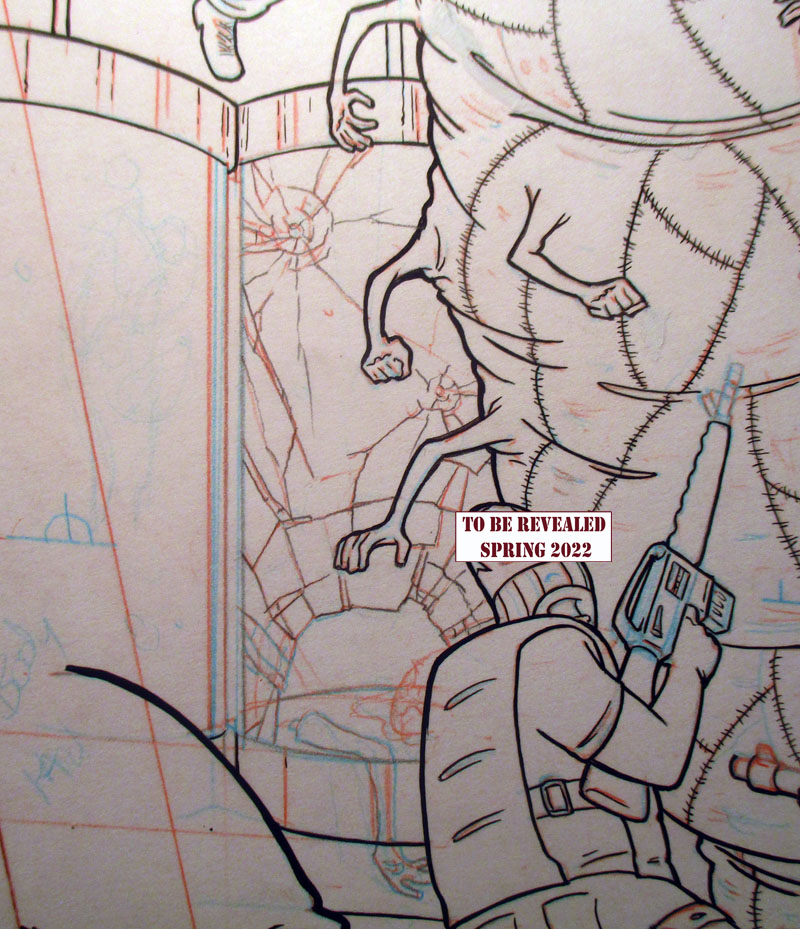
and ink that...
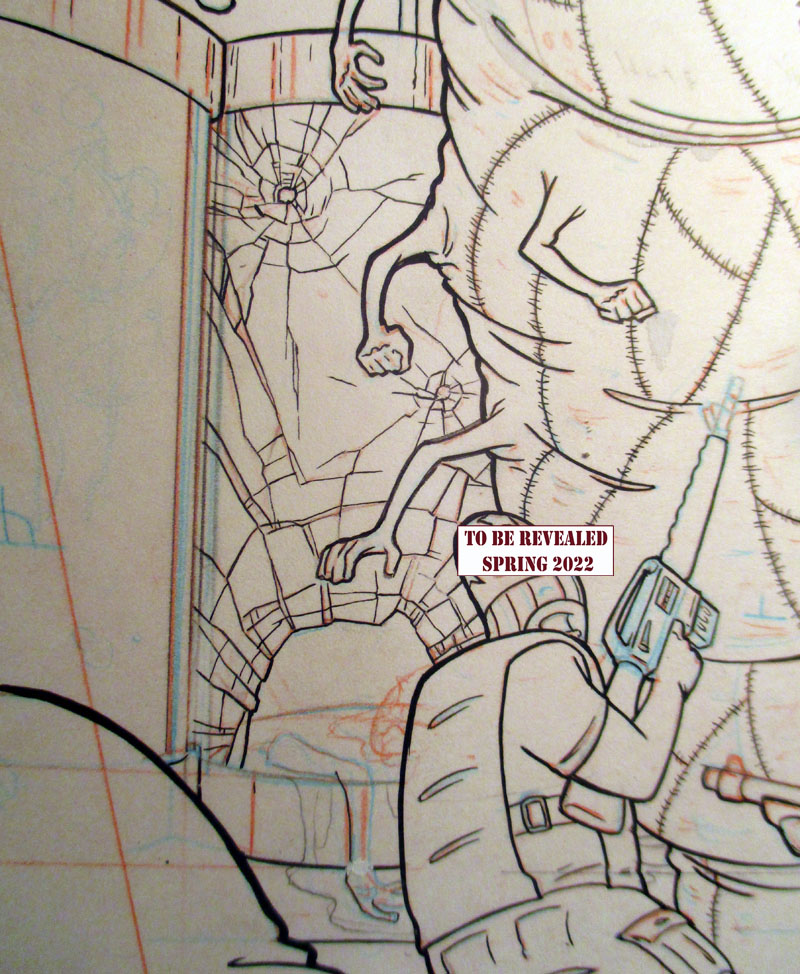
****PRO TIP***
thinking about drawing
broken glass? here's what you gotta do
-Look at some broken glass and understand what happened.
There's an impact point and at that point the glass is
pushed in causing it to crack, because it cannot bend.
The force/impact is not completely absorbed at the first
break, it ripples out, like a stone hitting water.
Farther away with each ripple. Except in the case of
glass the ripples run out of energy and/or the glass
breaks before making a complete circle
SO...the lines going directly outward are not what is
important or the foundation of what you're drawing, it
is the lines that would be ripples. You spiral ripple
lines outward and then draw the other lines going away
from the impact, changing course a bit after touching
each ripple.
Because THAT'S how it happens. "The truth has a certain
ring to it" this applies to visuals.
If it looks like a cartoon star, you're it wrong. If it
looks like a cartoon spider web, you're doing it right.
Okay...back to the rest...
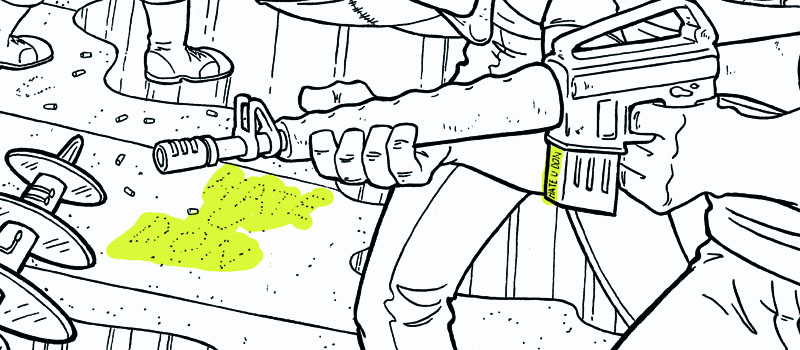
and this point, the bright idea was put forward to change the
lower left hand corner, from just two alien heads looking on, to
one alien with a sci-fi looking device.
...sigh...
Turned out decent...hopefully the colorist doesn't murder the
thing (I'm looking at you, Don).
...and THAT is all for this time.